Common Makeup Mistakes & How to Fix Them Like a Pro
Table of contents
We’ve All Been There: From Makeup Mishaps to Masterful Application
You’ve spent time carefully applying your makeup, you feel confident and ready for the day, and then… you see a photo of yourself. Suddenly, you notice it: the unblended foundation line along your jaw, a harsh stripe of blush, or concealer that has settled into every fine line.
Meet Emily. She felt fantastic after getting ready for a brunch with friends, until a sunny group photo revealed her foundation was a shade too light, creating a noticeable “mask effect.” We’ve all had that moment of realization, and it’s a frustrating feeling.
But the difference between a makeup mishap and a masterful application often comes down to a few small, common mistakes. This guide is your judgment-free zone to identify those errors and learn the simple, professional fixes that will elevate your makeup game for good.
Base Makeup Blunders (The Foundation of Your Look)
Mistake #1: The Wrong Foundation Shade (The “Mask Effect”)
- The Problem: Your foundation is either too light, too dark, or the wrong undertone, creating a visible line of demarcation along your jawline where your face ends and your neck begins.
- The Pro Fix: Never test Foundation on your hand or wrist, as the skin tone is different there. The only place to accurately shade match is directly on your jawline in natural light. Apply three stripes of shades you think are close. The one that visually “disappears” into your skin is your perfect match.
Mistake #2: Applying Too Much Product (The “Cakey” Catastrophe)
- The Problem: A heavy, thick layer of Foundation and Concealer that looks like a mask, feels uncomfortable, and settles into every line and pore, resulting in Cakey Makeup.
- The Pro Fix: Always live by the “less is more” rule. Start with a pea-sized amount of foundation. For the most natural, Flawless Base, use a damp Makeup Sponge. The moisture sheers out the product and allows you to press it into the skin with a gentle bouncing motion, creating a seamless, skin-like finish.
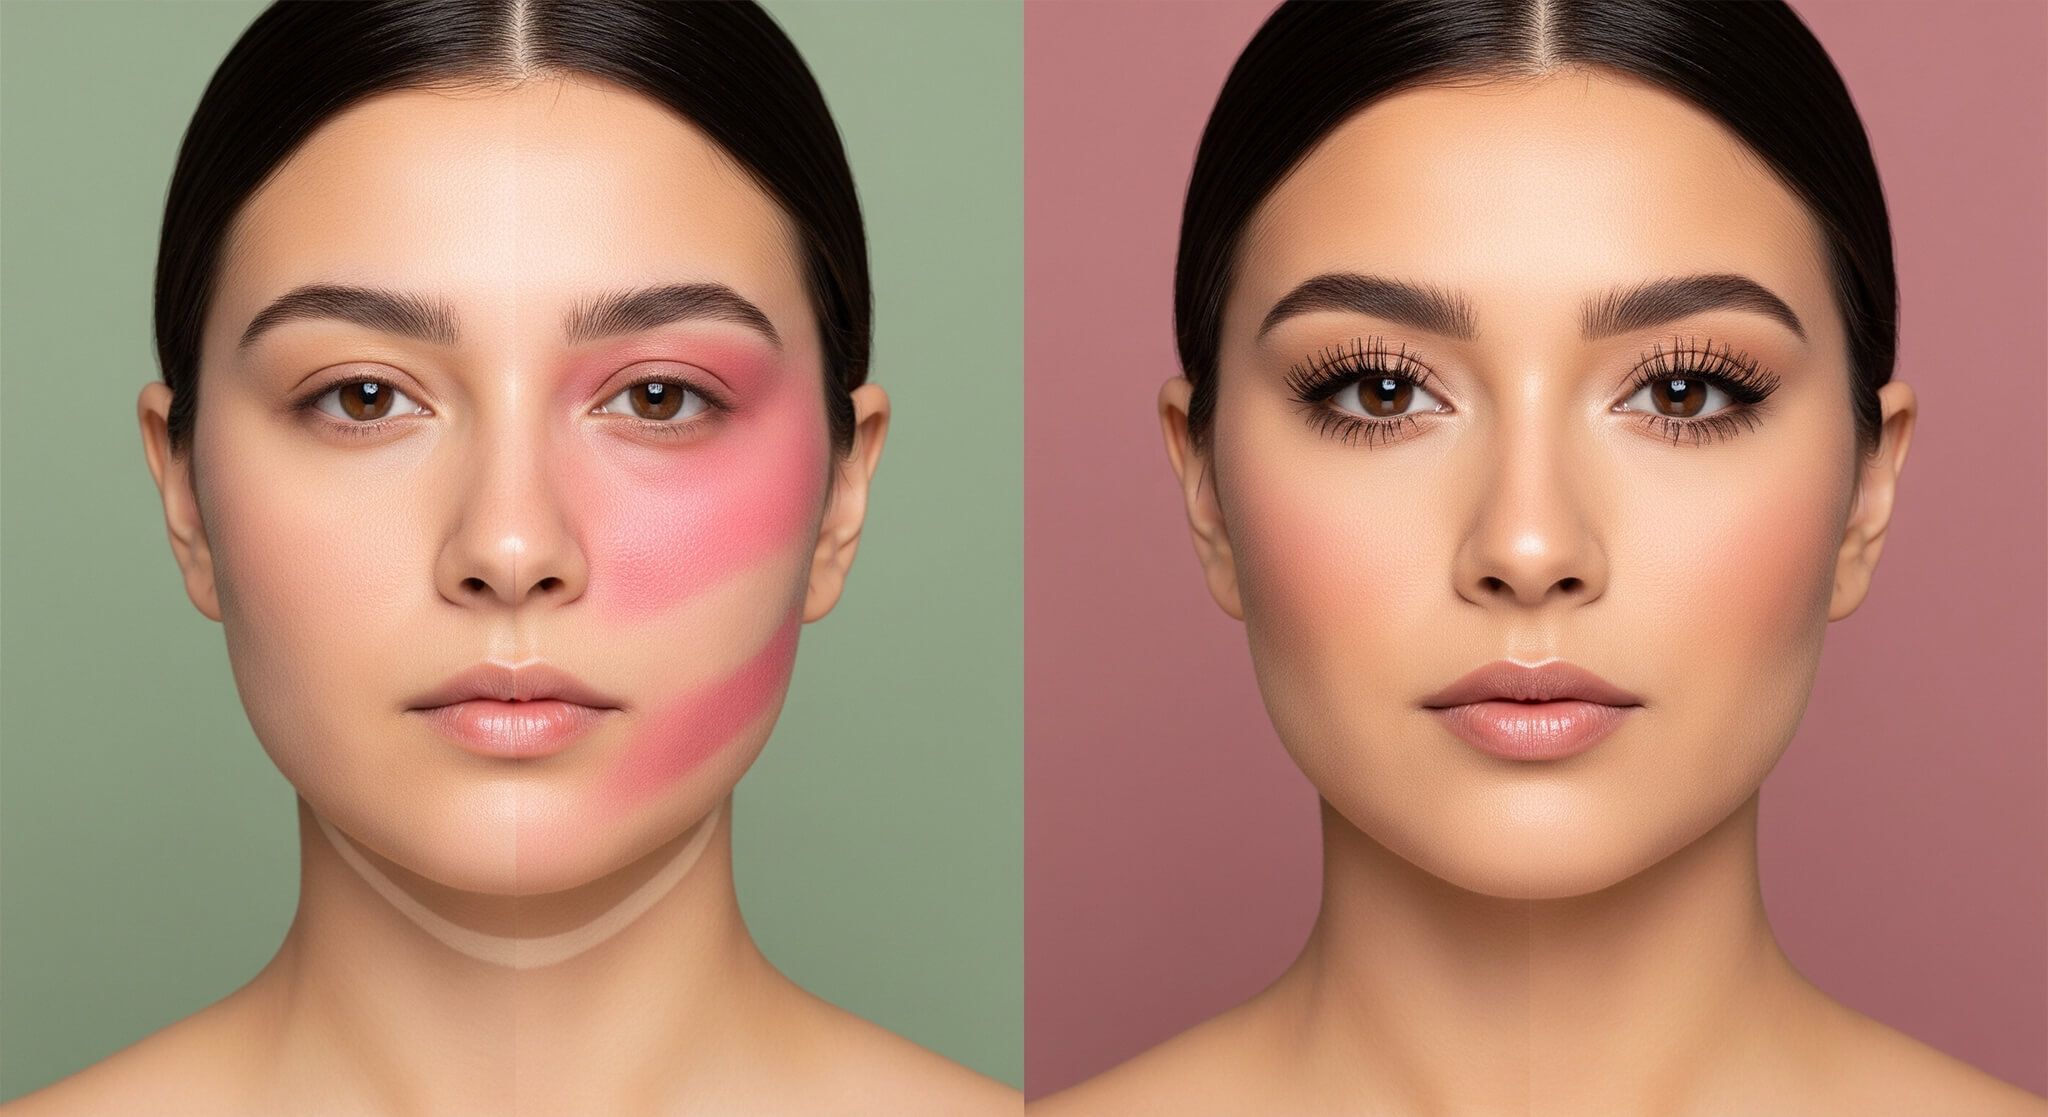
Mistake #3: Unblended Blush or Bronzer (The Obvious Stripes)
- The Problem: Visible, harsh lines or clown-like patches of blush or bronzer that aren’t integrated with the rest of your base.
- The Pro Fix: Placement and blending are key. Apply blush to the apples of your cheeks and blend upwards. Apply bronzer to the high points of your face (forehead, cheekbones, jawline). The secret is to take a separate, clean fluffy brush and use it to diffuse the edges until there are no visible lines, just a soft wash of color.
Mistake #4: The Wrong Concealer Under the Eyes
- The Problem: Using a Concealer that is too thick, too dry, or several shades too light. This creates a dry, crepey texture, settles into lines, and can result in a “reverse raccoon” look that is more distracting than the dark circles themselves.
- The Pro Fix: Opt for a hydrating, serum-like Concealer formula. Choose a shade that is no more than one shade lighter than your skin tone. Apply it sparingly, focusing on the inner corner of your under-eye where darkness is most prominent, and gently tap to blend.
Eye & Brow Errors That Drag You Down
Mistake #5: Harsh, Unblended Eyeshadow
- The Problem: You have a patch of dark, intense eyeshadow on your lid with obvious start and stop points.
- The Pro Fix: Blending is non-negotiable. Always start by applying a neutral “transition shade” in your crease with a fluffy brush. This gives your darker shades something to blend into. Use a clean blending brush in gentle windshield-wiper motions to diffuse any harsh edges.
Mistake #6: Heavy Eyeliner on the Lower Lash Line
- The Problem: A harsh, solid black line on the bottom lashes can make your eyes look smaller, can look severe, and often smudges throughout the day.
- The Pro Fix: For a more lifted and open look, keep your eyeliner focused on the upper lash line. If you want definition on the bottom, use a soft brown or grey pencil on the outer third only, and be sure to smudge it out with a small brush or your finger.
Mistake #7: Overdrawn or “Instagram” Brows
- The Problem: Brows that are filled in too dark, are too square at the front, or have an unnaturally sharp, “drawn-on” appearance.
- The Pro Fix: The goal is to enhance, not to re-draw. Use a product (like a pencil or powder) that is one shade lighter than your natural brow hair and use a light hand to create small, hair-like strokes, focusing only on filling in sparse areas.
Lip & Finishing Flaws
Mistake #8: Skipping Lip Liner with Bold Lipstick
- The Problem: You apply a beautiful, bold red or berry Lipstick, but within an hour it has started to “feather” or bleed into the fine lines around your mouth.
- The Pro Fix: Lip liner is the secret weapon for a crisp, clean lip. Before applying a bold color, line your lips with a matching liner. This creates a barrier or “dam” that holds the creamy lipstick in place all day.
Mistake #9: Forgetting to Set Your Makeup
- The Problem: Your beautifully applied makeup slides off, transfers onto your phone, or completely disappears by midday.
- The Pro Fix: To ensure Makeup Longevity, a final setting step is crucial. Use a large, fluffy brush to apply a light dusting of translucent powder to your T-zone. Then, hold a setting spray about eight inches from your face and mist it all over to meld the layers together and lock your look in place.
Common Makeup Mistakes FAQ
The culprit is almost always lighting. Warm, soft indoor lighting is very forgiving. Bright, cool-toned natural daylight reveals everything, including foundation that isn’t the right shade or isn’t fully blended. Always try to check your makeup near a window before you leave.
This is often caused by oil from your skin or your concealer breaking down the mascara. Try setting your under-eye Concealer with a light dusting of powder to create a barrier. Alternatively, switch to a waterproof or “tubing” mascara formula.
The most common cause of a patchy Flawless Base is applying makeup on dry, dehydrated, or poorly prepped skin. Ensure you’re exfoliating regularly and, most importantly, wait 5-10 minutes after applying moisturizer for it to fully absorb before you start your makeup application.
What’s the one makeup mistake you finally learned how to fix? Share your “aha!” moment in the comments below!